
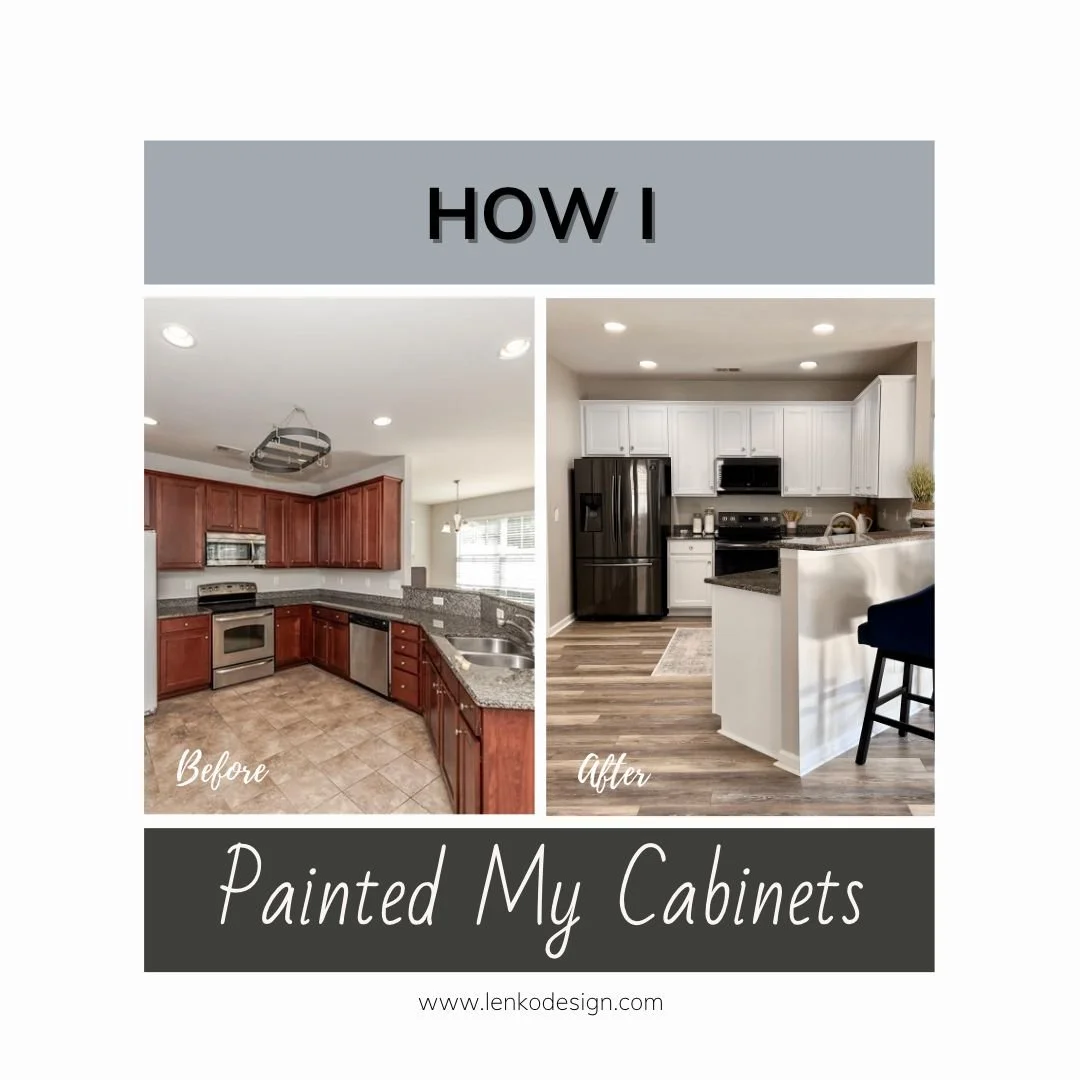
How I Painted My Cabinets
*This website contains affiliate links.
The overall aesthetic of my kitchen was mismatched and outdated. Since the cabinets and granite countertops are in great condition, we decided to paint the cabinets.
This is how I did it.
What You’ll Need
I used everything listed below plus some additional brushes I had and buckets to clean with.
Preparation
Step One:
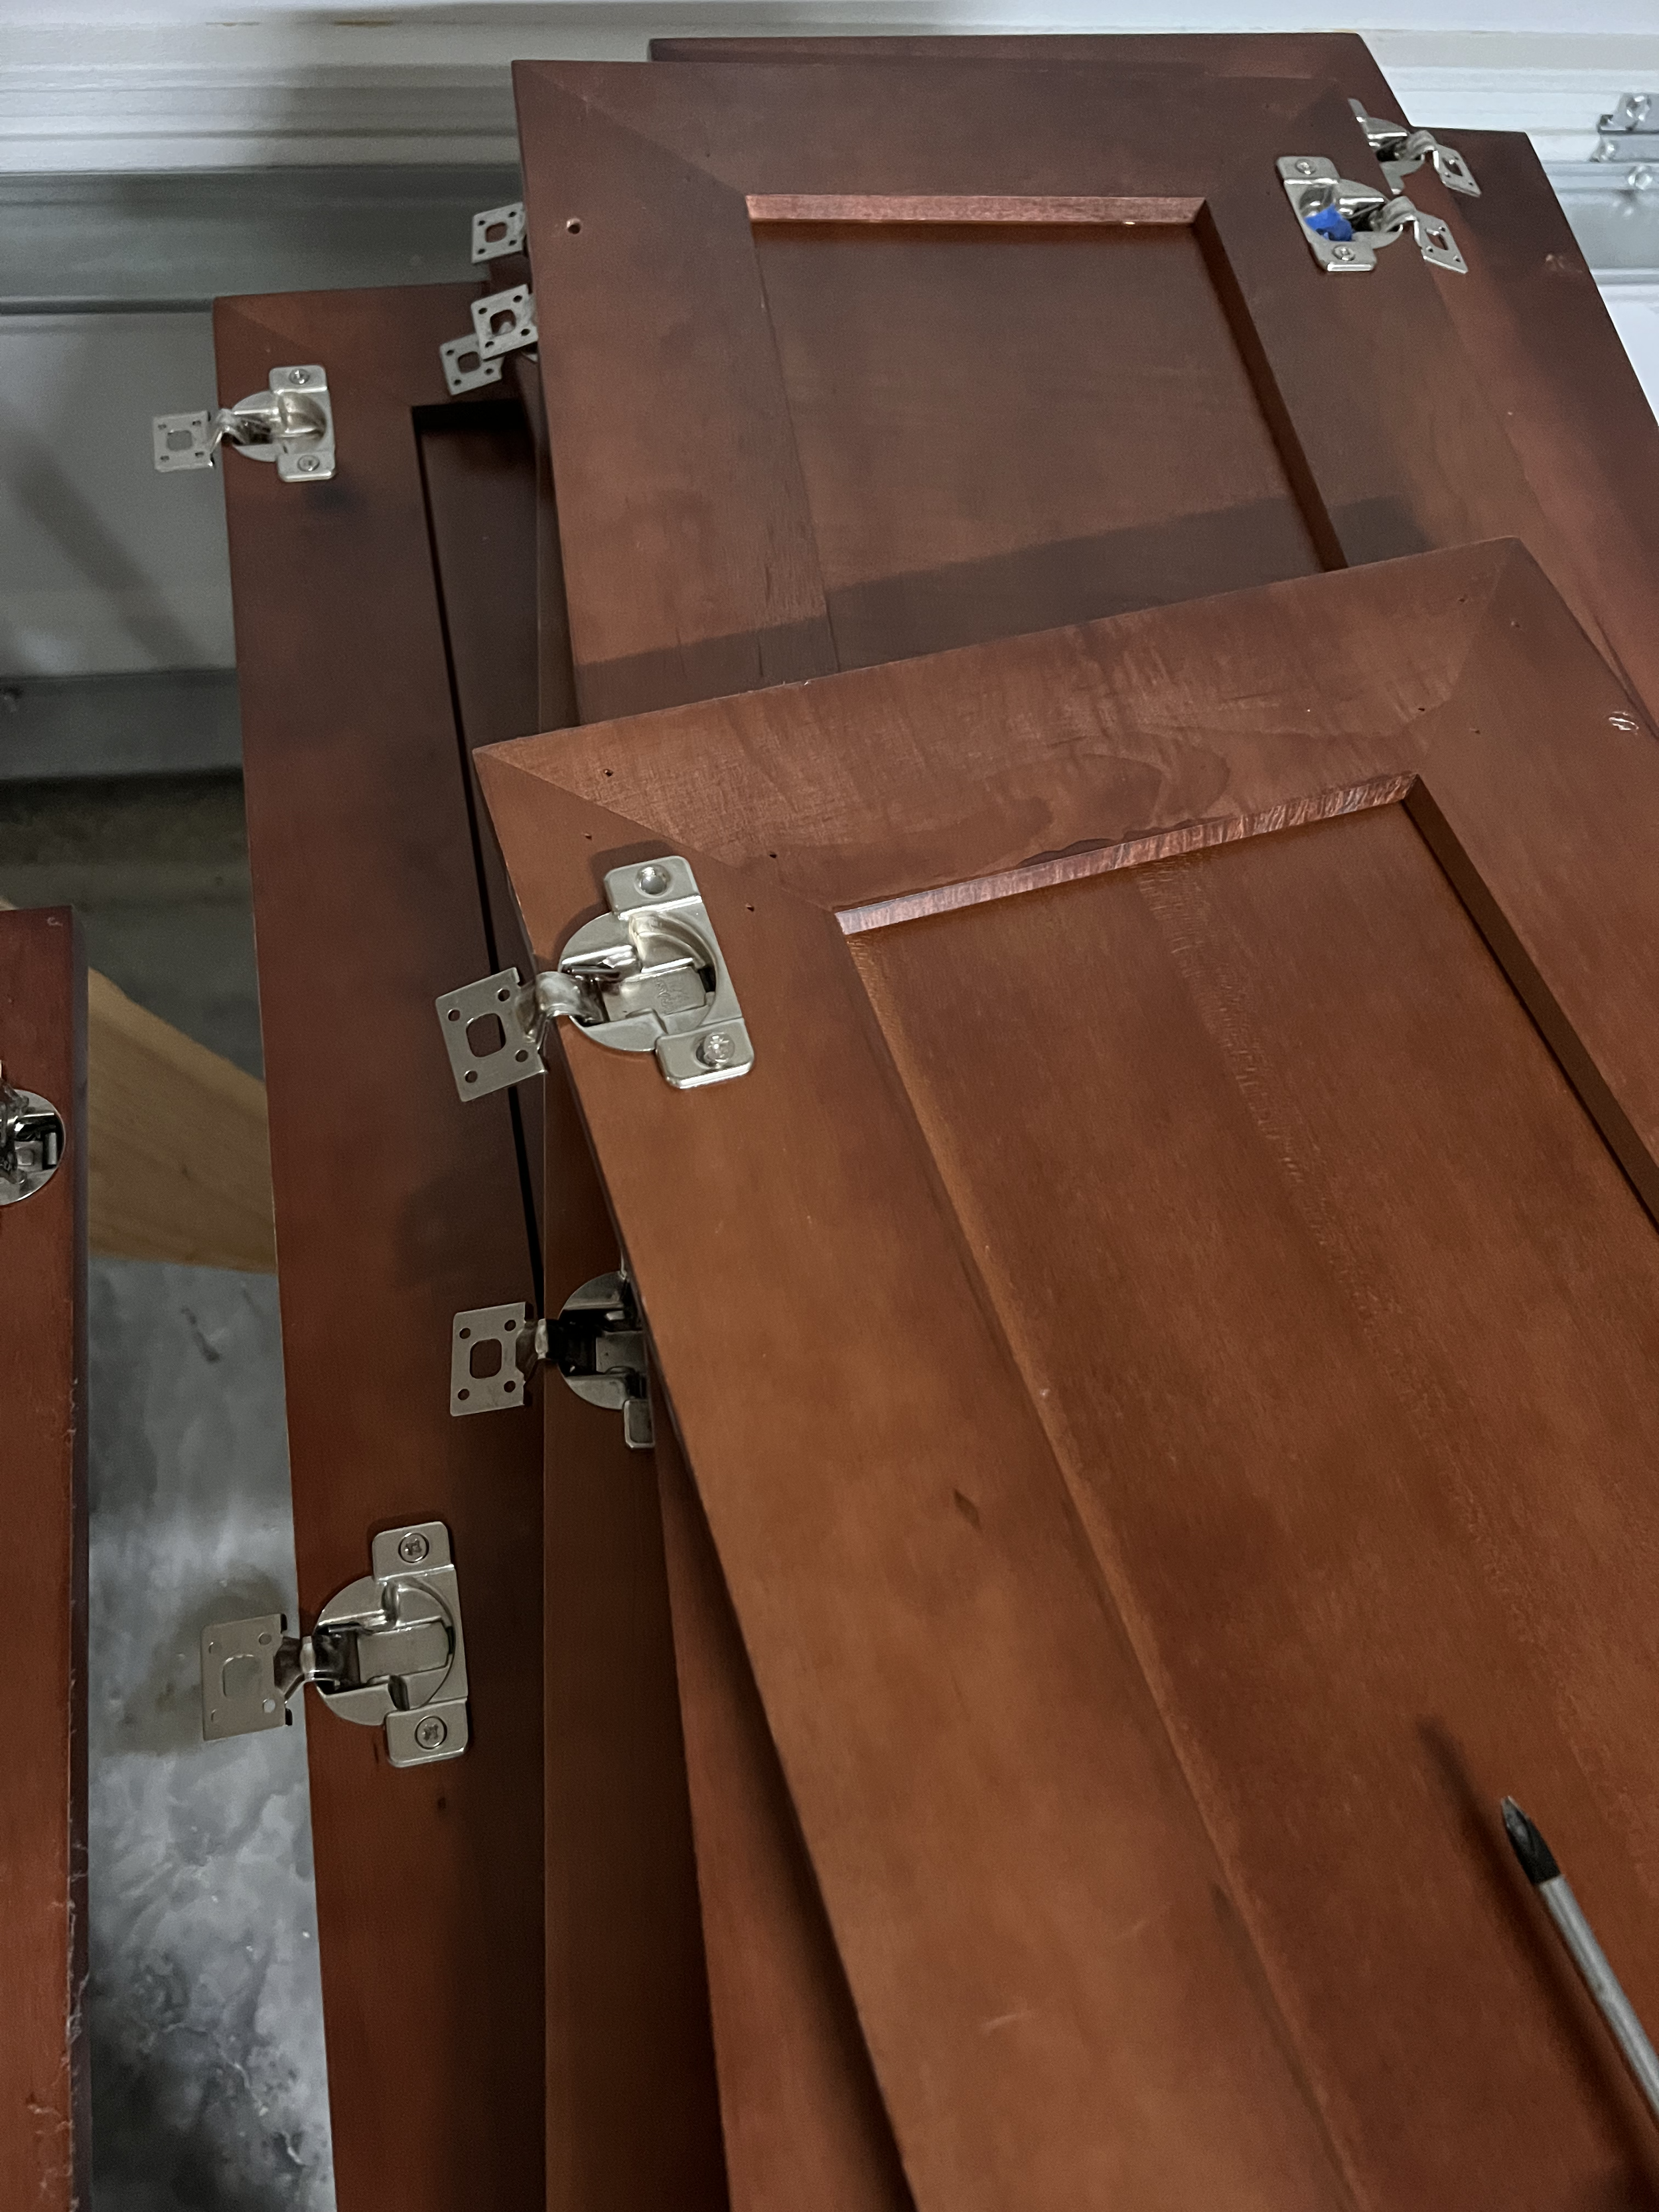
I removed all of the doors and drawers from the kitchen. I took off the knobs, hinges, and clear sticker bumpers.

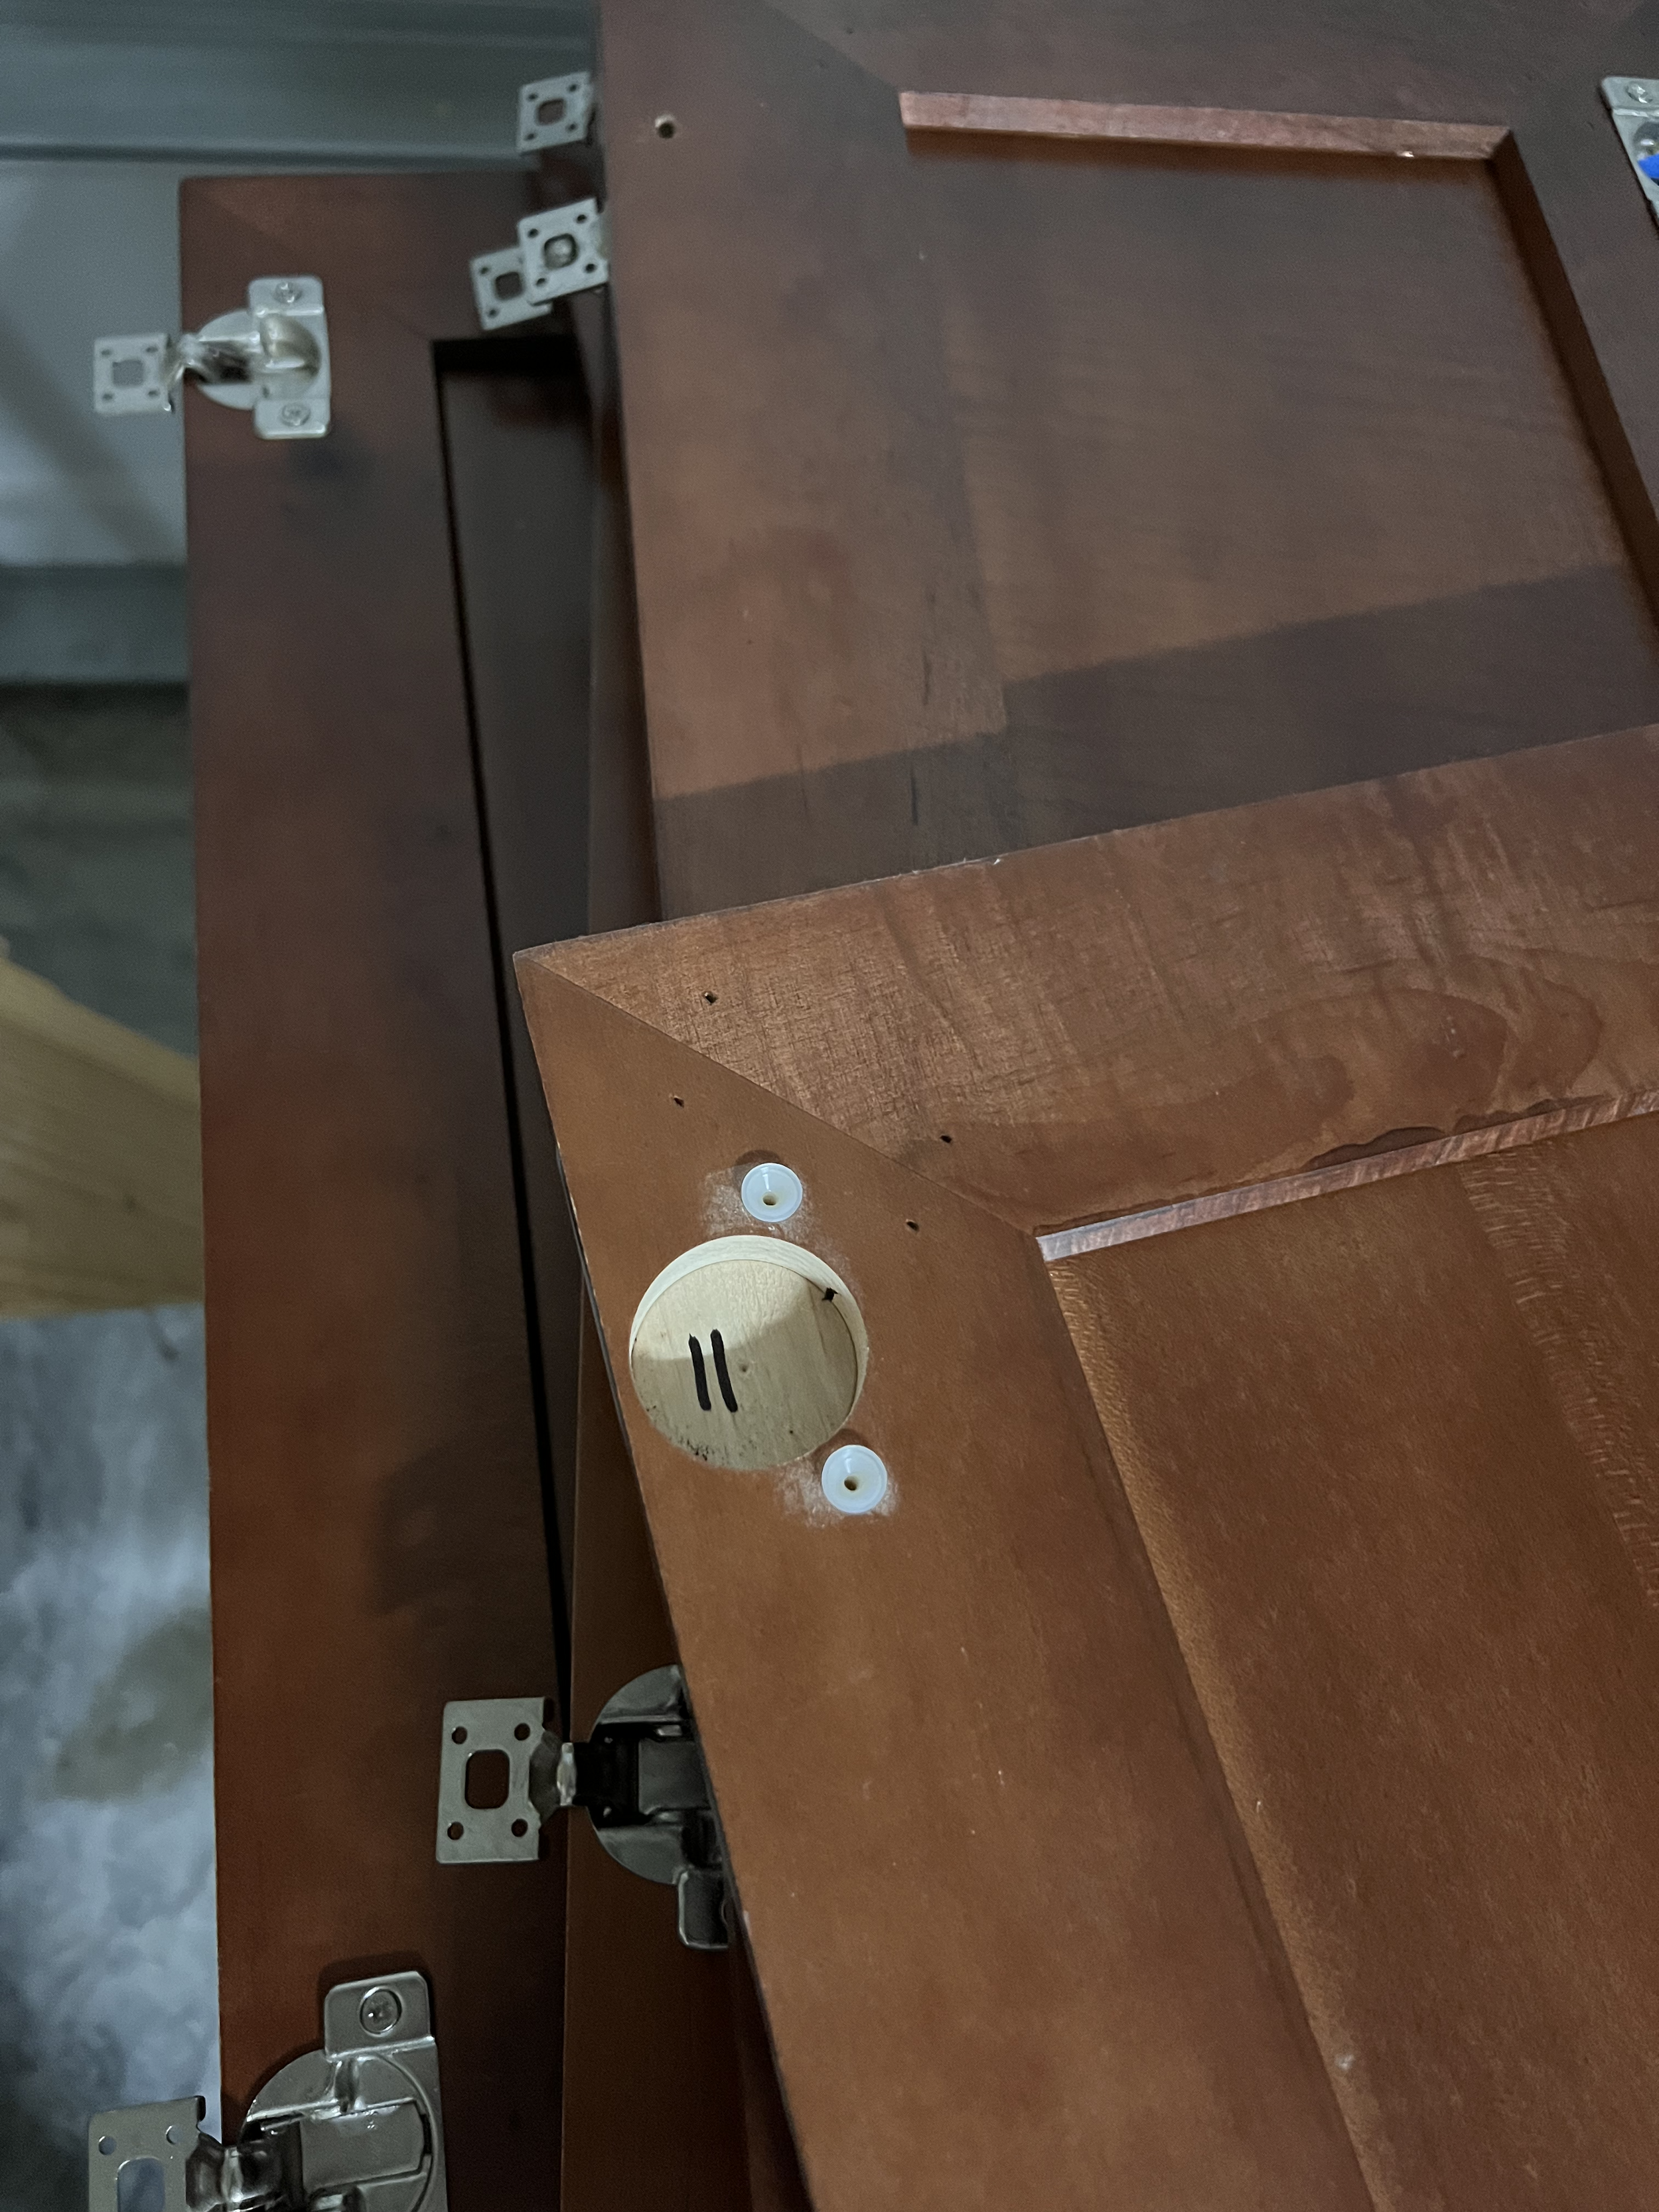
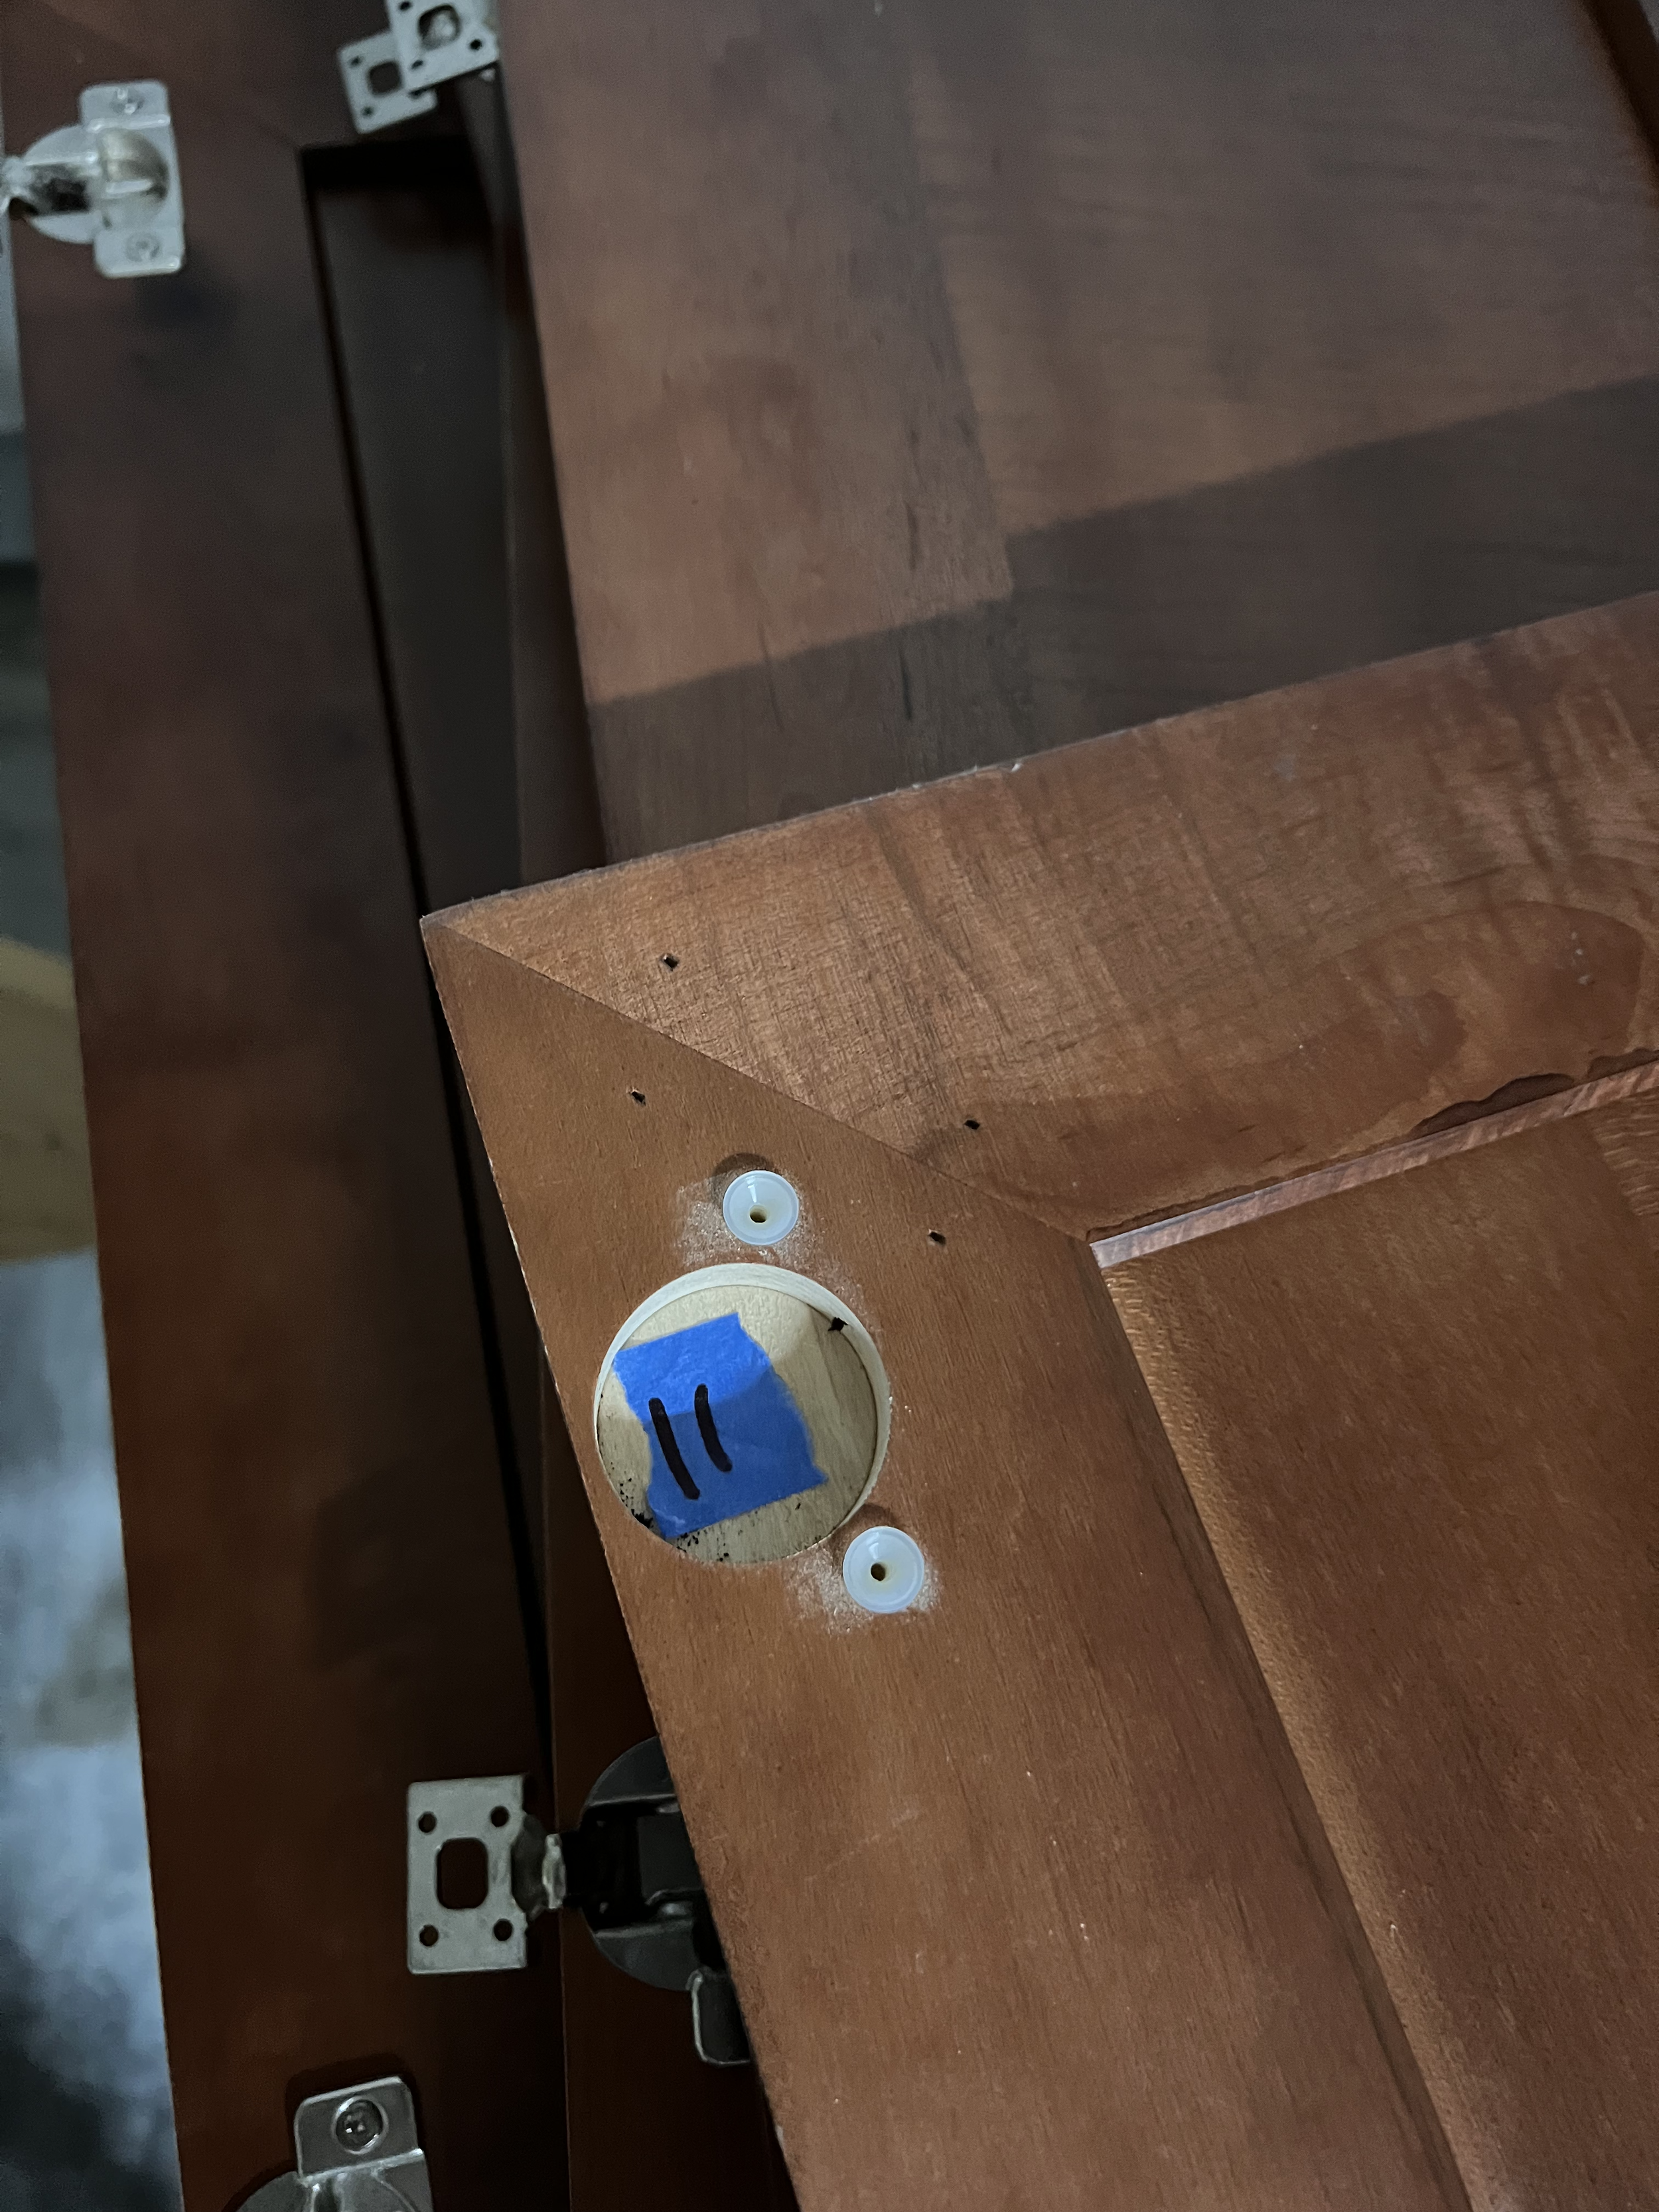
Step Two:
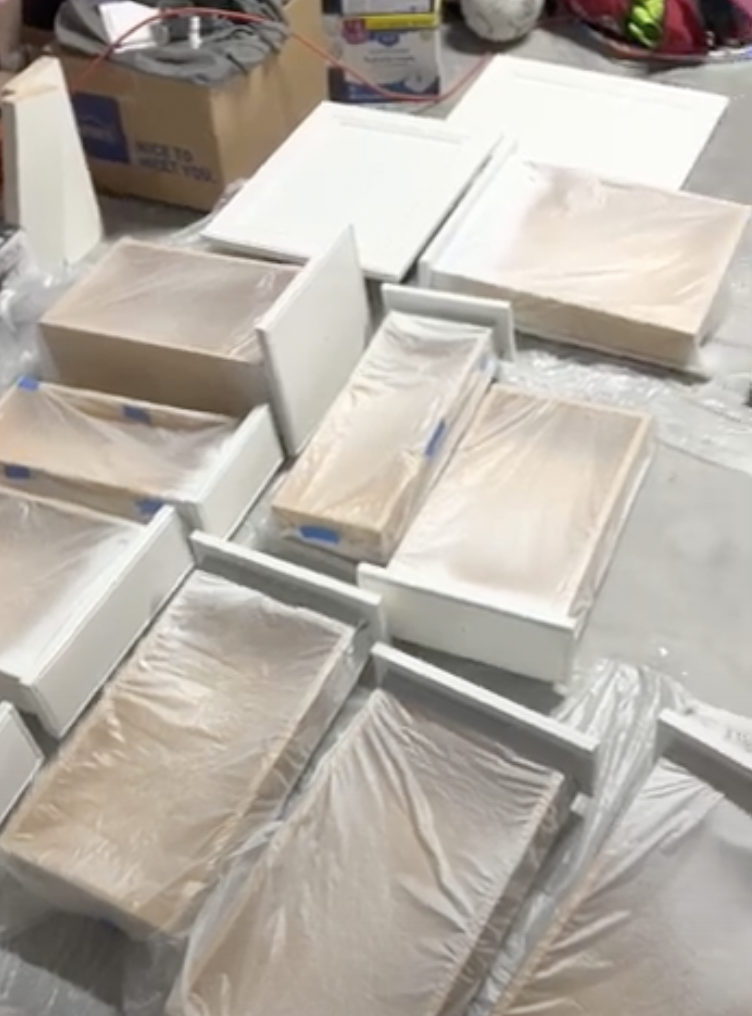
Once the hinges were removed, I used a Sharpie marker to write what number the cabinet was inside one hinge hole cutout. I then also labeled a piece of blue painter’s tape with the same number and stuck it on top of the number marked with Sharpie. I did this because when the paint was sprayed on, it covered up most of the labels on the painter’s tape. I was able to pull it off and see the numbers clearly for the installation.
I also made labels out of blue painter’s tape for each drawer.
Step Three:
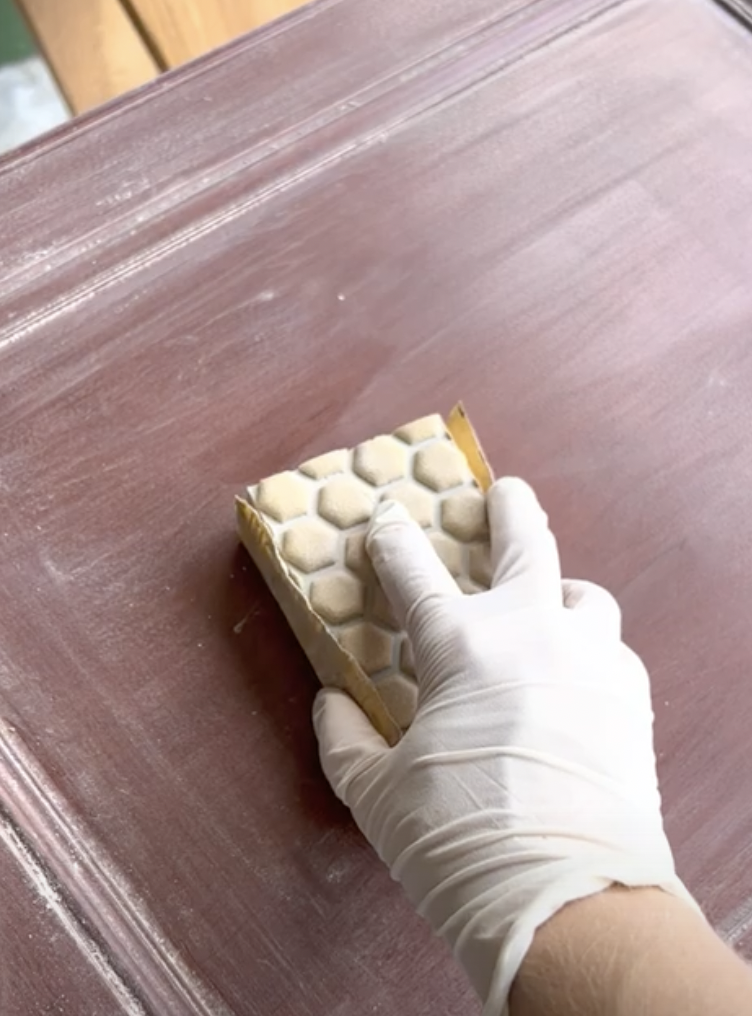
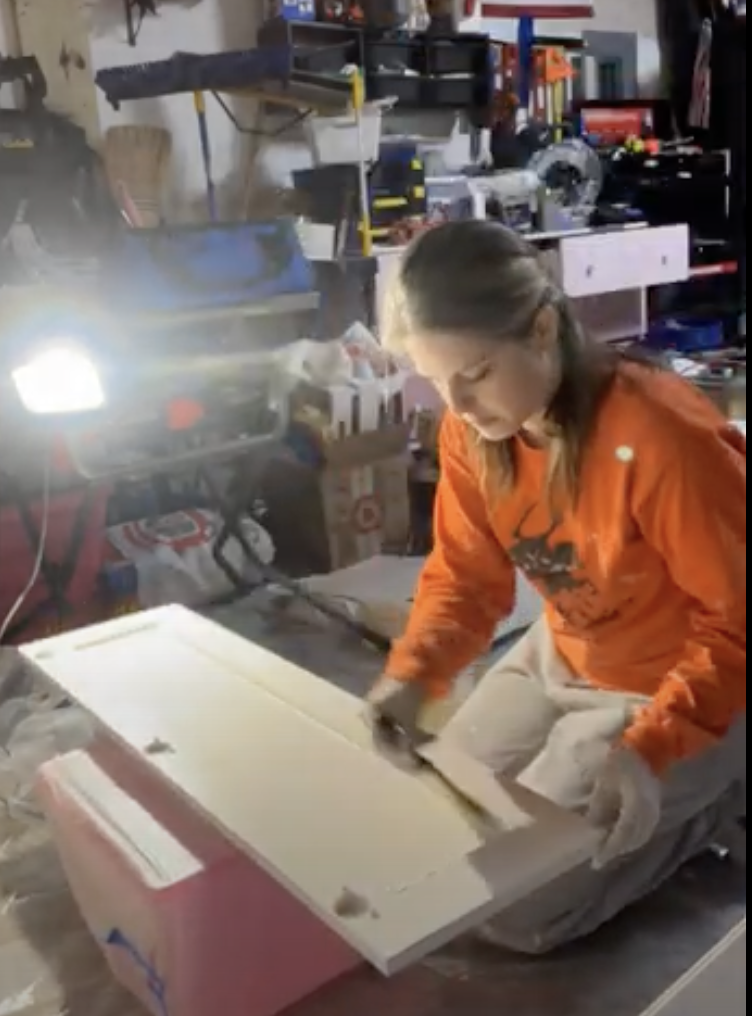
I sanded the cabinet boxes, doors, and drawer fronts using 320-grit sandpaper wrapped on a sanding block.
I wiped everything down with a tack cloth and then using a paint rag, wiped with Liquid Sandpaper.
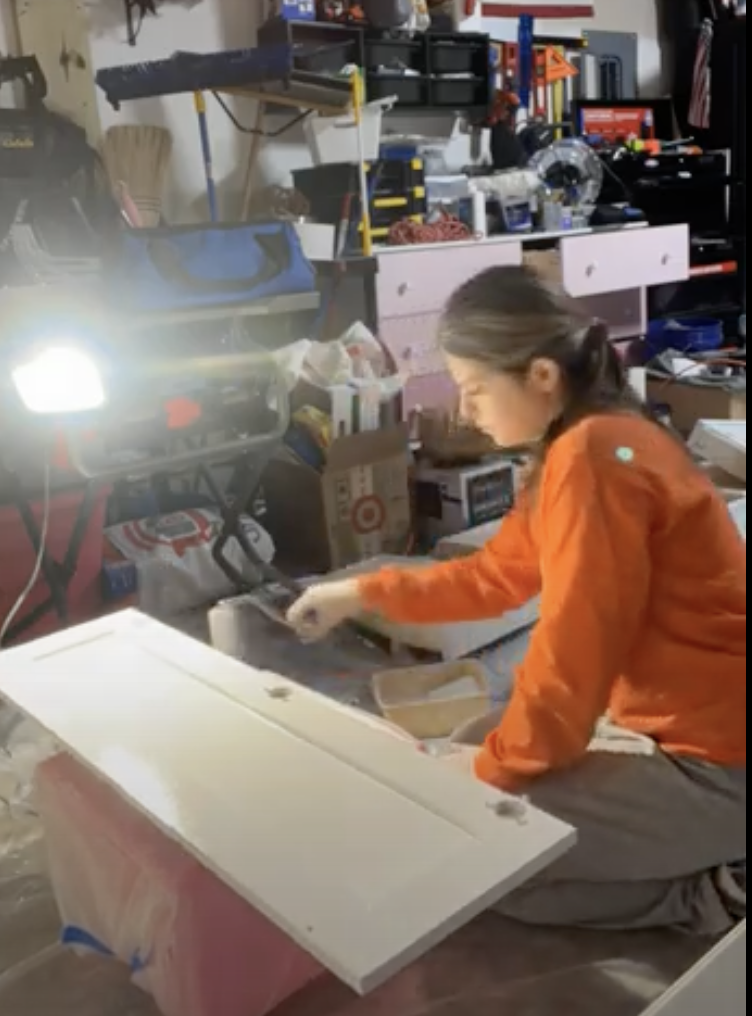
I then mixed the TSP All-Purpose Cleaner with warm water and wiped everything making sure to get any leftover sanding residue.
Be sure to wear heavy-duty protective gloves during this process!
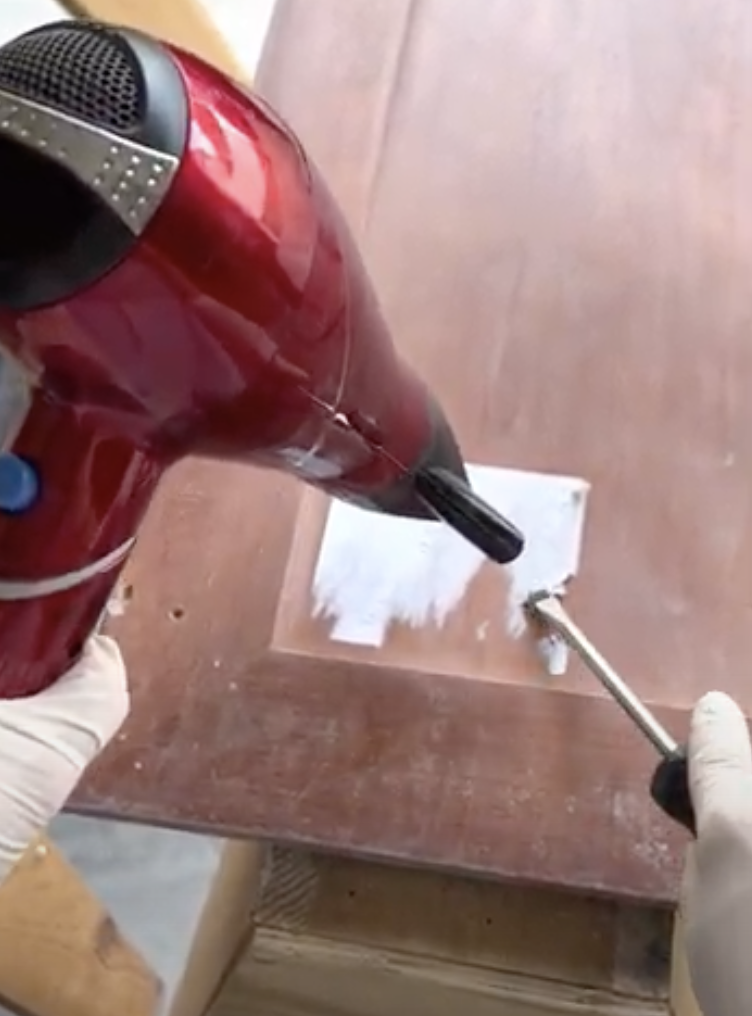
Hot Tip: Use a hair dryer to heat any sticky residue and scrape it off with a palette knife or flathead screwdriver.
Step Four:
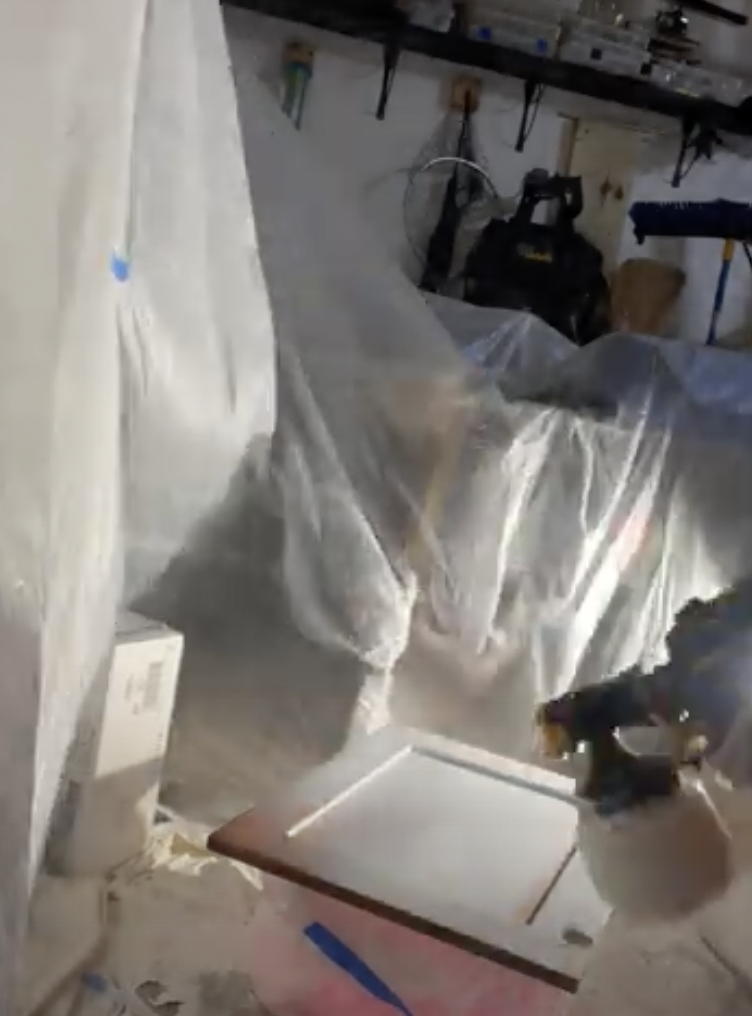
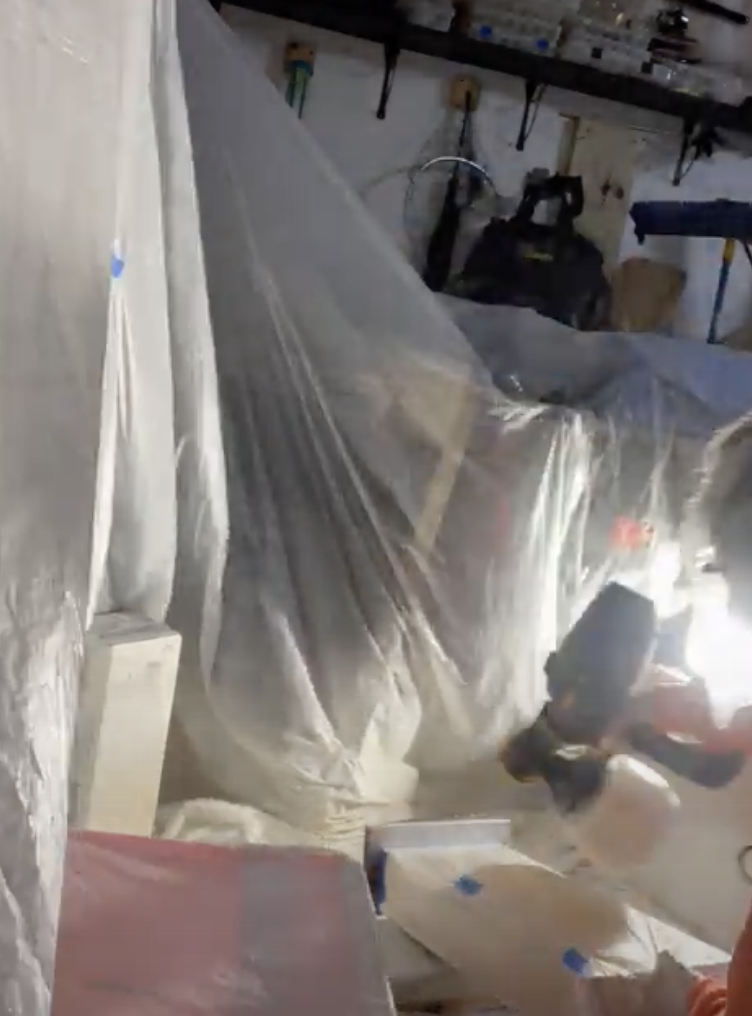
Prep your workspace. Place painter’s plastic down on the floors and on top of countertops to protect from paint spills or drops.
Using the Green Frog Tape, tape all areas where the cabinets meet the walls, floors, appliances, countertops… everywhere you don’t want paint. Be sure to tape two layers side by side. Doing so will make it so that the edge of your paint roller goes on the tape and not the wall.
I taped painter’s plastic on the interior of my cabinet boxes to protect them from unwanted paint splatter.

Applying Primer
Step Five:
Cabinet Boxes
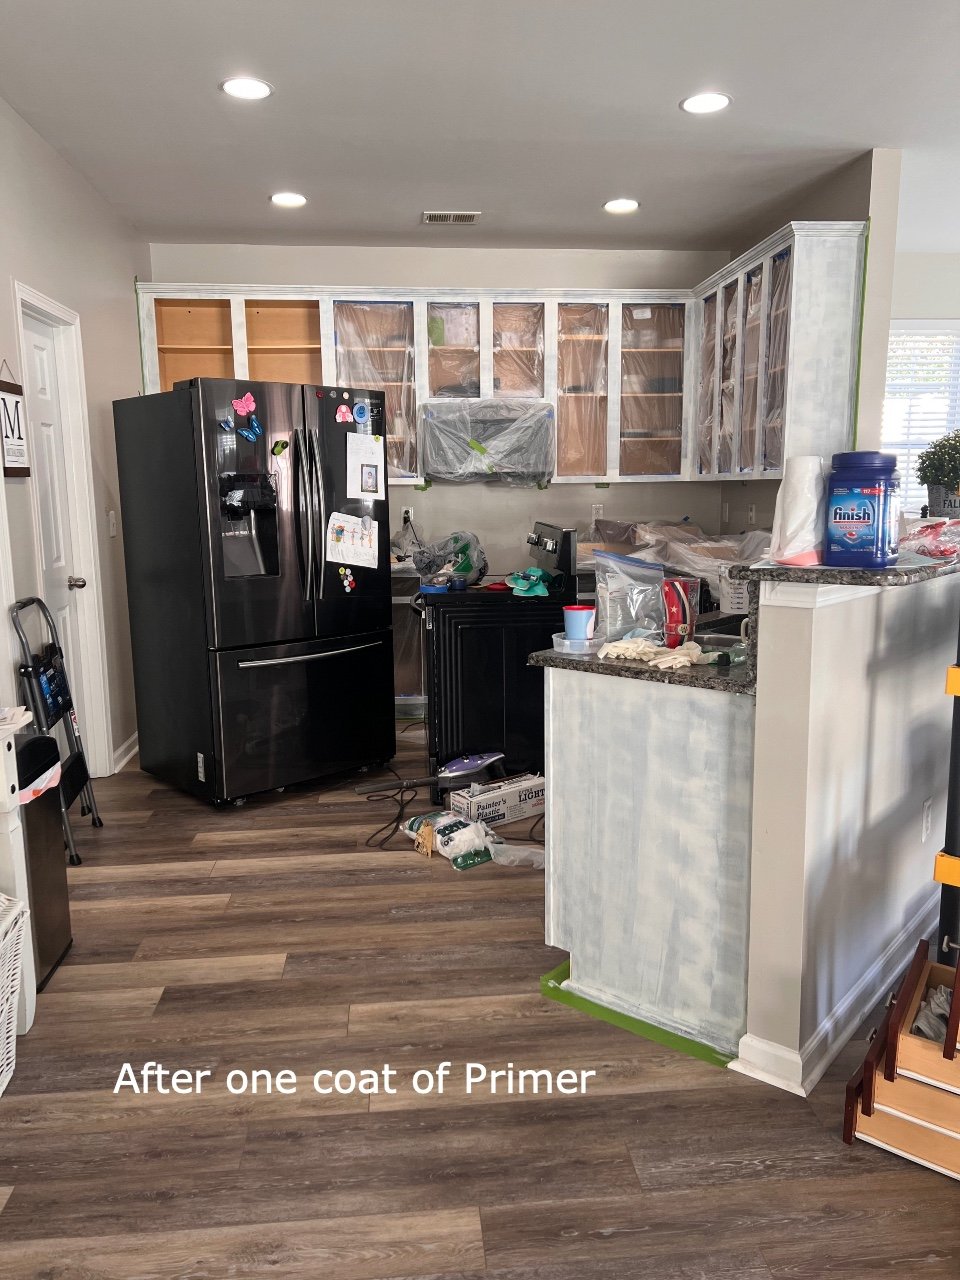
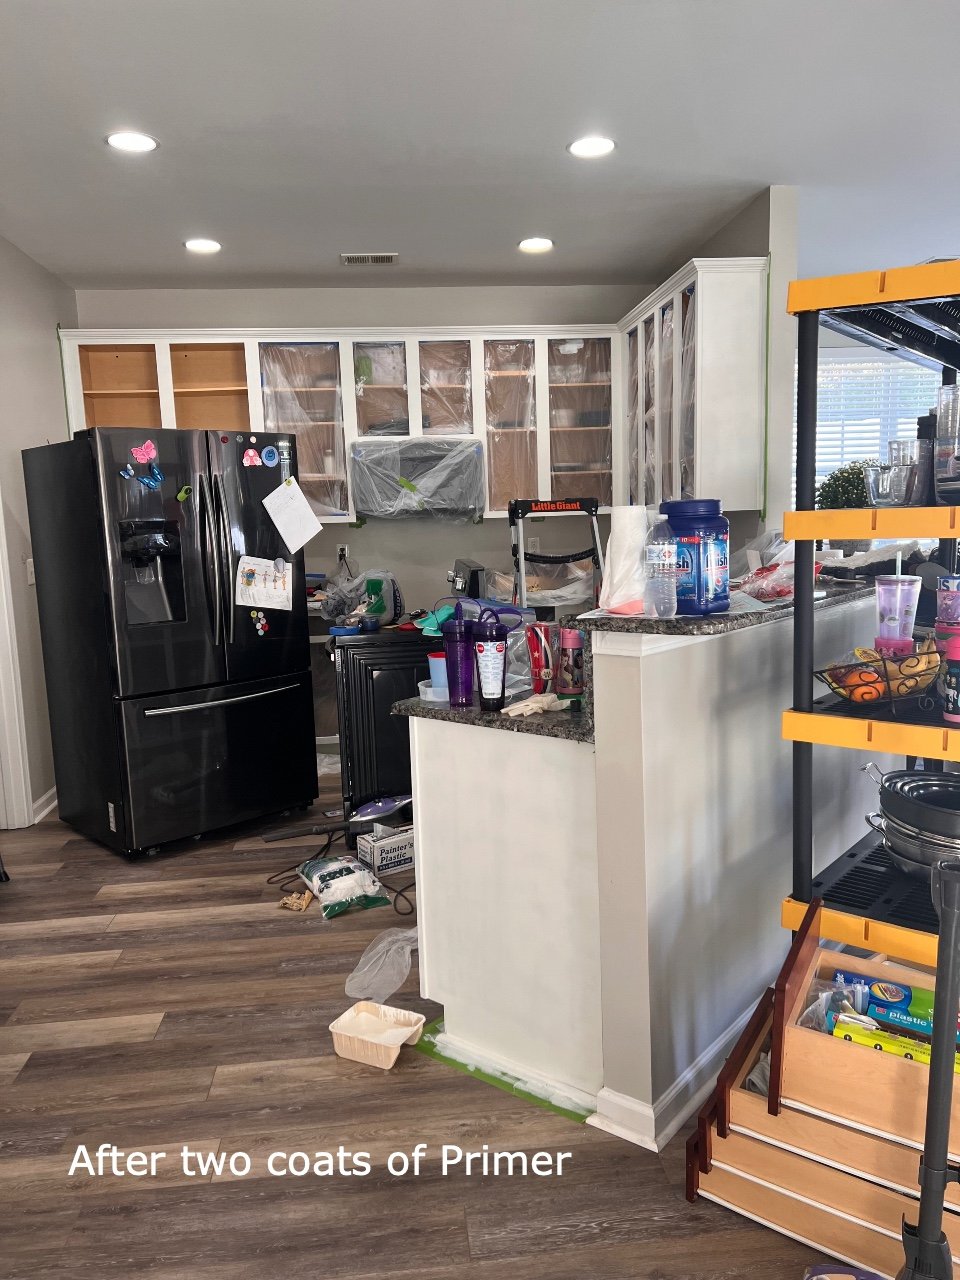
I painted two coats of Zinser BIN Primer on the cabinet boxes. The primer is very thin and smells awful. Make sure you ventilate your room as much as possible.
For the cabinet boxes, I cut in using the 2” flat brush and rolled on the paint everywhere else.
Door and Drawer Fronts
When I primed the doors and drawer fronts, I used the paint sprayer. It was much faster and only required one coat of Primer. The downside was that the paint sprayer used up a lot of Primer. I ended up going through an entire gallon.
I first painted the backs of the doors and drawers. If I made any mistakes or the paint dripped, it was on the back and less noticeable than on the front.
HOT TIP: Wear a properly fitted face mask, eye covering, and gloves when using primer.
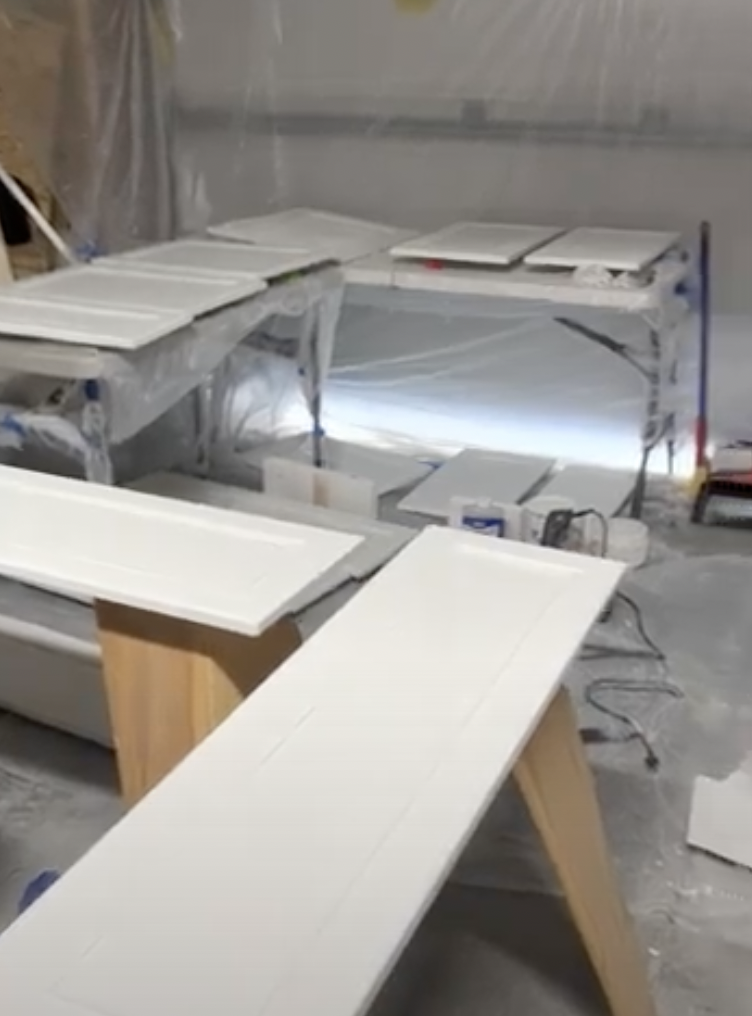
I used the mini cone paint stands to prop the doors and drawers up on as they dried.
Once the backs were dry, I painted the fronts and sides and then let them dry.
HOT TIP: I learned that once dry, the Primer dries flaky on the painter’s plastic and painter’s tape. I had to use a lot of tack cloth to get the flakes off before I could paint with the cabinet paint. I probably should have removed the painter’s plastic and then prepped it again with fresh plastic and tape.
Applying the Cabinet Paint
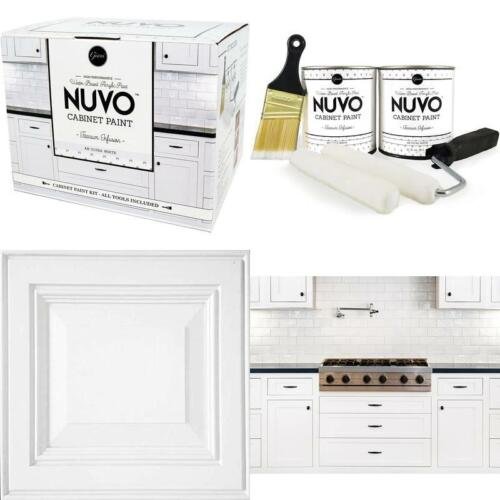
I chose the Nuvo Cabinet Paint because it is easy to work with plus the kit comes with everything you need to get started. Nuvo has several colors to pick from and I really liked that they included very detailed instructions.
I used the Nuvo Cabinet Paint on my bathroom vanities without the top coat that can be purchased separately and the paint has held up very well. I do plan to go back and put a top coat on them just to make sure the paint lasts even longer.
Step Six:
Cabinet Boxes
Using the same method as with the Pimer, I cut in with a 2” brush and rolled the paint on with the cabinet paint roller. I found the Nuvo Titanium White paint to be very thick but applied smoothly.
I didn’t take a picture of this step, but I used the drywall knife to avoid paint bleeding through the painter’s tape onto the flooring. I put the flat edge of the drywall knife on the floor up against the shoe molding and painted on top of the knife instead of painting directly onto the painter’s tape.
It took two coats of cabinet paint to fully cover the Primer. I repeated the painting process with one layer of the Clear Top Coat.

Drawers and Doors
I used one of my daughter’s toy bins that has wheels on the bottom to easily rotate the doors and drawers around while I painted them.
I started with the backs again. I first cut in with a brush and then rolled on the paint with the paint roller.
After the backs were dry, I repeated the process for the fronts.
I let all of the doors and drawers dry overnight and then repeated the process of applying the Clear Top Coat.
HOT TIP: Remove the painter’s tape while the paint is still a little bit wet. This will allow for cleaner edges.
Putting It All Together
Step Seven:
Inspect your paint job to see if there is anywhere you need to touchup, then replace the clear bumper stickers on the backs of the doors and drawers.
Step Eight:
I enlisted the help of my husband to help reinstall the doors and drawers. We replaced the hinges with new soft-close hinges and hung the doors back up.
After the drawers were put back, we installed new knobs and then we admired all of the hard work that went into this transformation!

I am so glad we decided to paint our cabinets! It was a labor of love and definitely took me longer than I anticipated. I think the most time-consuming part of this project was the prep work, but it was necessary to achieve the results I wanted. All in all, this project took me over two weeks to complete. I worked a little bit every day and did what I could while my kids were at school.
Now we have a fresh bright white kitchen that instantly brightened up the entire space!

FREE download! Start planning your next home refresh with this Room Budget Calculator.

-Tiffani Michalenko
HSR Certified Home Stager & Expert eDesigner


